This past Saturday my family decided to brave the threatening weather and go cherry picking. After a short drive in the country we ended up at
Blake's cider mill. They have pick-your-own Bing, Rainier and sour cherries. Best of all they have a pitting machine!
We headed out to the sour cherry trees and started picking but shortly it began to rain. We all tried to stay dry under the trees but it kept coming down and we had to give up and run for the cars. Since my parents and I both had a full bucket we decided to call it a day and head to my house where my
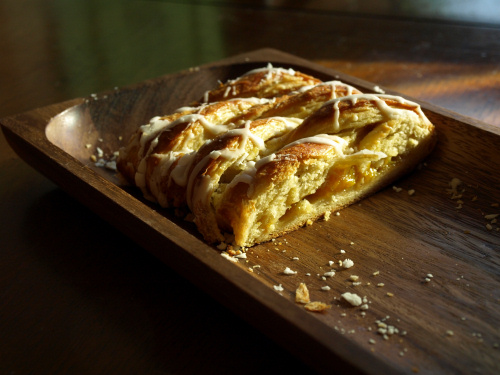
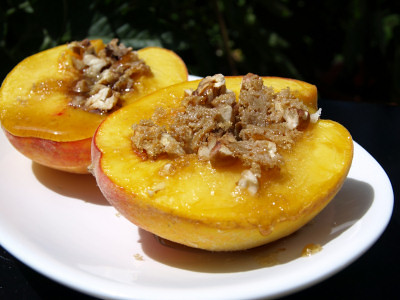
peach Danish was waiting for us.

In past years, I've made lots of sour cherry preserves but we're really not jam eaters and I hate how much sugar preserve recipes have. I've made dried cherries but they take a lot of cherries and get eaten up too fast. I even canned cherries in light syrup one year but let my jars cool too much and had a glass filled mess. While I was debating what to do with the cherries my husband John was working his way through my bucket making cherry-soymilk smoothies and I was eating a bowl of
micro-stewed cherries for breakfast every day. I finally settled on using the last of the bucket to make homemade pie filling. The stuff in the cans always tastes like metal to me and the cherries are over sweetened and overcooked. I started with a
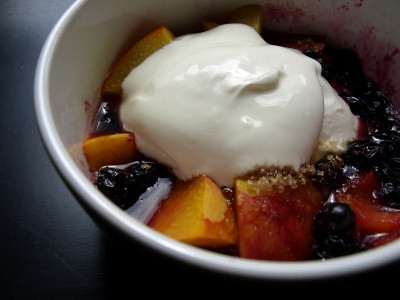
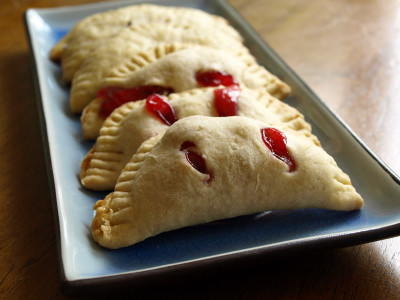
simple recipe. When you have cherries pitted sitting around they give off a lot of juice. So, I skipped some steps, eliminated the lemon juice and lowered the amount of sugar to my tastes. The resulting pie filling was delicious! I had planned on freezing half of the filling but it was so good with yogurt I barely had enough to make some pocket pies.
I remembered seeing a Good Eats episode on pocket pies and thought Alex would love them. I make him dairy-free calzone with Food for Thought mozzarella and they are one of his favorite foods. Alton Brown makes a chocolate filling on the show that I wanted to try to make dairy-free in addition to filling some pies with the cherry filling.
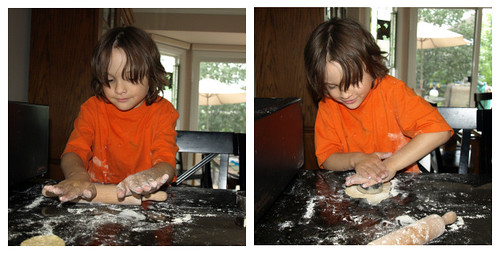
When I started making the dough, Alex noticed what I was doing and came to help. He got the scraps of dough and made some teeny-tiny pies and cinnamon sugared animals. I rolled out my dough and mixed up the chocolate filling with Earth Balance as the butter substitute. I filled the first batch with chocolate filling and put them in the oven. Then I got to work on the cherry filled pies.

When the timer sounded a surprise awaited me. Most of the chocolate filling had oozed out of the pies! Alex heard my exclamation and ran over to see what had happened. He started laughing and told me that my pies had diarrhea. While this was an apt description his six year old mind was a little fixated on the scatological idea and he cackled and repeated the statement for at least 10 minutes. We then found that the "diarrhea" was chewy and delicious and pulled away from the pies without too much damage to them. There wasn't as much chocolate filling still inside as I would have liked but they were still really good.
I'm not sure if I didn't seal them well enough or put too much filling inside. Maybe I need to add something else to make the Earth Balance set? Flaxseed meal, cornstarch, or flour are options I'm going to try when I make these again. And I will make these again. The dough came together really quickly and easily and was easy to work with. The cherry filling bubbled out a little but otherwise they were perfect; fresh tasting and not overly sweet.
I'm sure I'm going to make more pocket pies with other fillings and work on getting the chocolate filling to stay inside. Using up my picked sour cherries as pie filling was new for me and I think it would be a good way to save the fruit while it is in season. I'd like to make more and try freezing individual portions to top yogurt or hot cereal with. The whole time I've been thinking about how next year we'll be living 100 feet from a sour cherry orchard. I really can't wait for the move!
I've been meaning to post an entry to Jen from
Modern Beet's Fresh From the Farmer's Market Blog Carnival and this entry seems perfect. Be sure to check out the other posts on her blog in the beginning of August.
Here are the recipes with my alterations:
Sour Cherry Pie FillingThis was great with yogurt or hot cereal and worked beautifully in my pocket pies.Makes ~5 cups
4 cups (1 quart) pitted sour cherries
1/2 cup juice from the cherries
3 tablespoons corn starch or tapioca starch
3/4 cup sugar
pinch of salt
-Add the juice from the cherries to a large saucepan. Stir in the sugar and cornstarch until there are no lumps of cornstarch left.
-Add the cherries and bring to a boil. Only boil it until it thickens so you retain the cherries fresh taste.
-Remove from heat and cool. Store in the fridge or freeze. Can be used like canned cherry pie filling.
Pocket PiesMy dairy-free version of Alton Brown's Good Eats Pocket Pie Recipe. If you'd like directions on how to deep fry or pan fry these pies look to the original recipe. Makes 10-15 pies
9 1/2 oz all-purpose flour (~2 cups)
2 teaspoons baking powder
3/4 teaspoon kosher salt
2 1/2 oz shortening (~6 tablespoons)
3/4 cup soymilk
1 egg beaten with 1 teaspoon of water, or just water
- Preheat your oven to 350 degrees F. Have your fillings ready.
- Place the dry ingredients into a large bowl and mix together well with a wire whisk.
- Cut in the shortening with a pastry cutter until the shortening is the size of flakes of oatmeal.
- Add in the milk all at once and stir together.
- Turn out onto a lightly floured surface and knead 10-20 times.
- Roll the dough out to 1/3 to 1/2 inch thick and cut out 2 1/4 inch circles of dough.
- Form pies by taking a circle of dough and rolling it to a thin disk 4-6 inches across. Brush one edge with egg wash or with water. Add 1-2 tablespoons of filling and fold over the other side. Crimp with a fork and snip 2-3 holes in the top for venting. Transfer to a baking sheet.
- Bake for 20-25 minutes until golden brown. Cool and eat.

 I've been lax about following up on being double tagged for a meme. Speedbump Kitchen and The Allergic Kid both got me and I've been a bad girl and haven't responded.

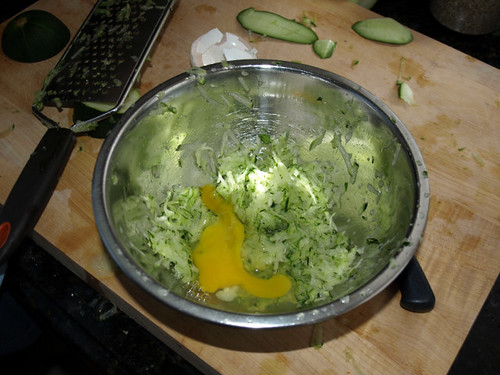
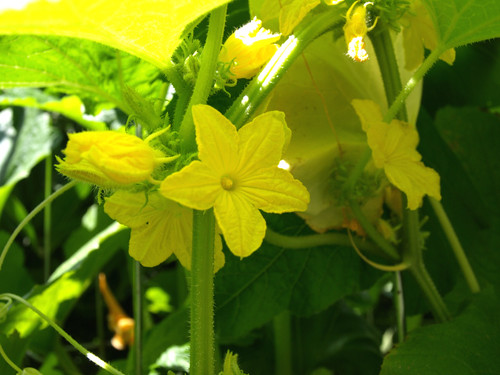
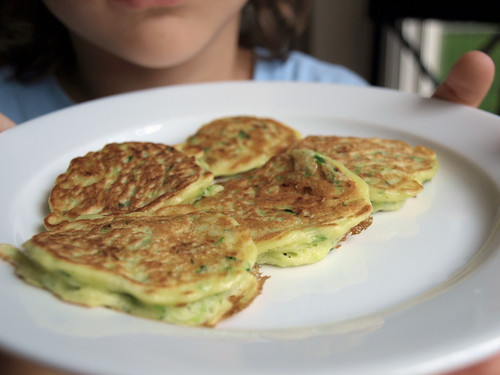 Alex has really enjoyed picking vegetables this year. He loves that I'm letting him do some chopping with real knives. Yikes! His favorite vegetable for chopping has been zucchini. We forgot to pick two and over two days they turned monster sized. This only added to Alex's general excitement. I figured I'd better try and cash in and get him to eat more than his usual nibble of vegetable by making zucchini pancakes. He loved using the grater and cracking the egg but had a hard time getting the spatula under them to flip. I went ahead and let him have maple syrup (it is real stuff and from Michigan) but John had his with Tofutti Better than Sour Cream. I had real (ie cow's milk) sour cream.