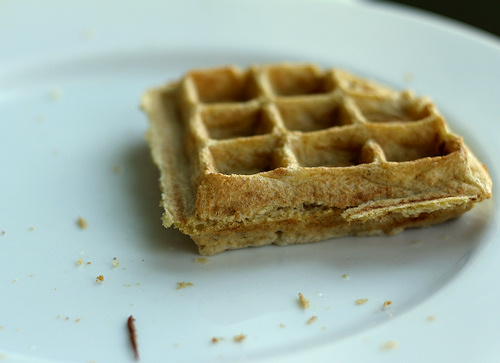
But, I had already soaked some oats and had to do something with them. Thinking they wouldn't be eaten, I chose to make waffles which would be easier to freeze and reheat in the toaster. I adapted a pancake recipe but my freezer saw no action because they were devoured as fast as I could make them. The lone waffle pictured above was all that was left.
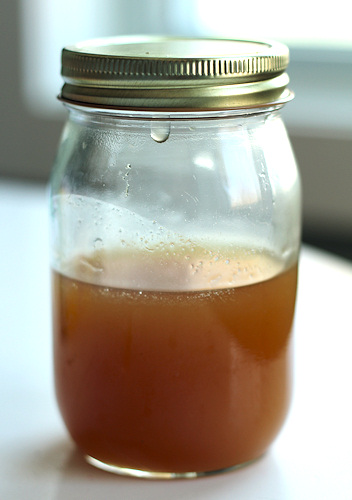
This may have been because they were really that good--light and airy and perfectly crispy on the outside, or it might be due to the fact that I served them with my latest batch of homemade maple syrup. After losing a huge batch of syrup because I was busy doing schoolwork with Alex (there was smoke, a scorched pan and some tears) I have been much more attentive to my syrup and have made 2 quarts without crystals. I think that calls for some more celebratory waffles!
Update: I changed the amount of water because I added a little more and liked the result better because they still cooked up great but the batter was easier to blend. Orginal amount of water was 1 cup.
Airy Oat Waffles
Based on the recipe for Soaked, Flour-Free Oatmeal Pancakes from Nourishing Days
Makes about 4 (8 inch square) Belgian waffles
1 1/2 cup rolled oats*
1 1/4 cup water
1 teaspoon apple cider vinegar
3 eggs
1 tablespoon sweetener of your choice (I used coconut sugar)
1 teaspoon vanilla extract
1 teaspoon baking powder*
1/4 teaspoon baking soda
1/4 teaspoon salt
oil for waffle iron
*gluten-free versions as needed for your situation
-Add the water and vinegar to your oats and soak at least overnight on the counter.
-Separate your egg whites into a clean mixing bowl. Set aside for now.
-Place the egg yolks, the oats with their soaking liquid and all the other ingredients (except the egg whites) into a blender jar. Blend until smooth.
-Whip your egg whites to firm peaks, not super stiff or they won't mix as easily. Fold one third of the whipped whites into your oat mixture and then gently fold the remaining whites.
-Cook according to your waffle iron's instructions (*see my iron at the end of this post.) Coat the iron with oil before each addition of batter, coconut oil spray works well or brush on melted coconut oil with a pastry brush.
-Serve with a small pat of coconut oil and maple syrup or fruit and whipped coconut cream.
One of my smaller batches of successful syrup, see my previous practice batches at Maple Tapping '11
The sick kids took a bath. I hadn't planned on letting Penny in but she insisted and Alex was a good sport.
Of course he did stick Lego minifigs in her hair
And he can be such a goof with his crazy expressions!
I'm adding this to Go Ahead Honey, It's Gluten-Free. This month's host is another Maggie who blogs at She Let Them Eat Cake, the theme is Springtime Brunches and I think these waffles would be perfect. *Notes on waffle irons: I really like the control of a stovetop waffle iron. They take up way less storage space and can get hotter than most electric models but they do have a learning curve. The NordicWare model is the one I own but I really want to get the Rome's Cast Iron


